Using digger with statesman allows you to have a convinient way to manage your state files in a secure manner. It is especially handy in more complex multi account setups where it gets harder to configure terraform to access state in a centralised location. In this page we will guide you through the process of setting up digger with statesman. We will also show you how to use digger with an S3 bucket if you do not wish to install and configure statesman.Documentation Index
Fetch the complete documentation index at: https://docs.opentaco.dev/llms.txt
Use this file to discover all available pages before exploring further.
Using digger with statesman
If you would like to use digger with statesman the first step is to generate a terraform enterprise token. You can do this by running:In CI system we would expect a bit longer lived tokens so that rotation doesn’t need to occur as often. For that you can temporarily set
OPENTACO_TERRAFORM_TOKEN_TTL="720h" as an environment variable in the statesman service so that it doesn’t expire soon when you place it in CIUsing digger S3 bucket only
You can connect digger directly to an S3 bucket if you do not wish to install and configure statesman. This would be useful in cases where you don’t have usecases for fine-grained access control or the other upcoming features such as remote runs by your users. Or maybe you have your state hosted somehwere and are not yet ready to migrate to statesman. The example repo for this is here: https://github.com/diggerhq/states-test In this example we have the following directory structure:-backend-config=tf_backend.tfbackend to the plan and apply steps.
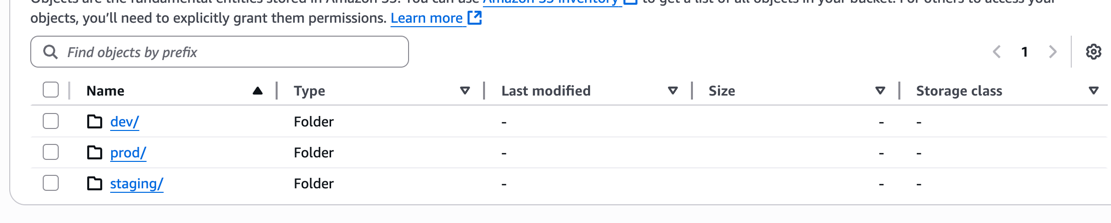
In this way it is easy to add additional states simply by adding a record for them in digger.yml. Once a PR is created and applied we will end up with a bucket that has three state files: