Documentation Index
Fetch the complete documentation index at: https://docs.opentaco.dev/llms.txt
Use this file to discover all available pages before exploring further.
This guide will show you how to set up digger orchestrator on azure and setup your github workflow to trigger workflow on azure! This guide assumes that you are using github actions for CI. Lets get started
Installing the orchestrator
The easiest way to install the orchestrator is via helmchart in kubernetes. The deployed service needs to be able to listen to webhooks from github for using github actions
Install the helm chart
Install the digger-backend helm chart from https://diggerhq.github.io/helm-charts/, leaving empty all the data related to the GitHub App. You can also use the postgres database defined within the helmchart or define your own. Here’s a good starter set for my-values.yml:
digger:
  image:
    repository: registry.digger.dev/diggerhq/digger_backend
    tag: v0.6.101
  service:
    type: NodePort
    port: 3000
  ingress:
    enabled: true
    host: mo-digger-test.ngrok.app

  secret:
    useExistingSecret: false
    existingSecretName: ""

    httpBasicAuthUsername: "admin"
    httpBasicAuthPassword: "abc123"
    bearerAuthToken: "salkfjadslkfj" # You should generate
    hostname: "<https://mo-digger-test.ngrok.app>"
    githubOrg: "diggerhq" # replace with org for digger
    githubAppID: ""
    githubAppClientID: ""
    githubAppClientSecret: ""
    githubAppKeyFile: "" #base64 encoded file
    githubWebhookSecret: ""

postgres:
  enabled: true
  secret:
    useExistingSecret: false
mydigger.yml and run the following helm commands to install it in your k8s cluster:
$ helm repo add digger <https://diggerhq.github.io/helm-charts/>
$ helm repo update
$ helm install mydigger digger/digger-backend -f mydigger.yml
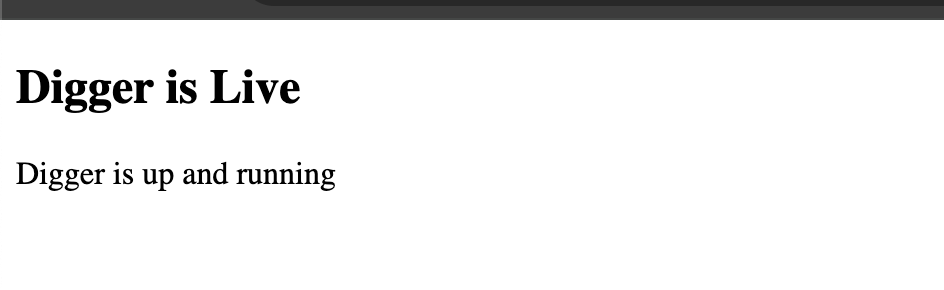 Now you can visit /github/setup endpoint and you will be greeted with this setup wizard for creation of a digger github app with the right settings
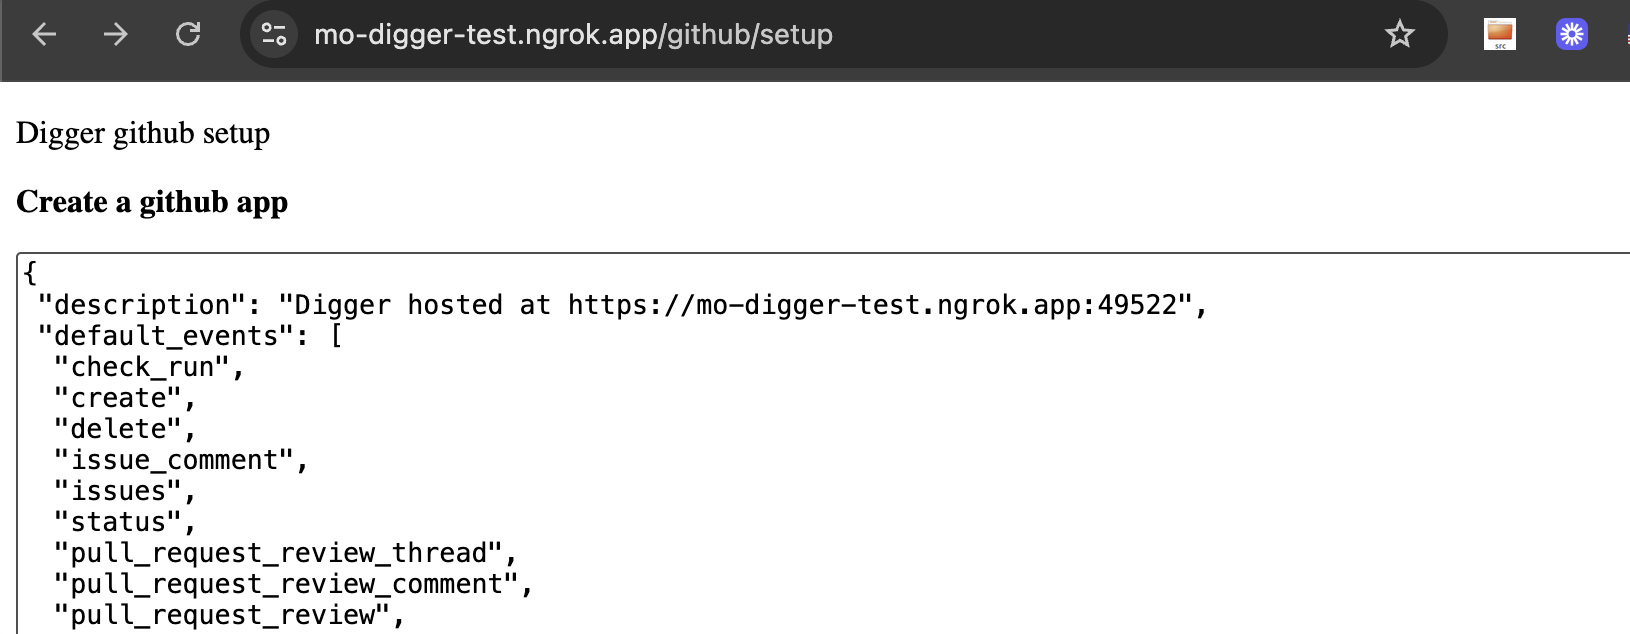
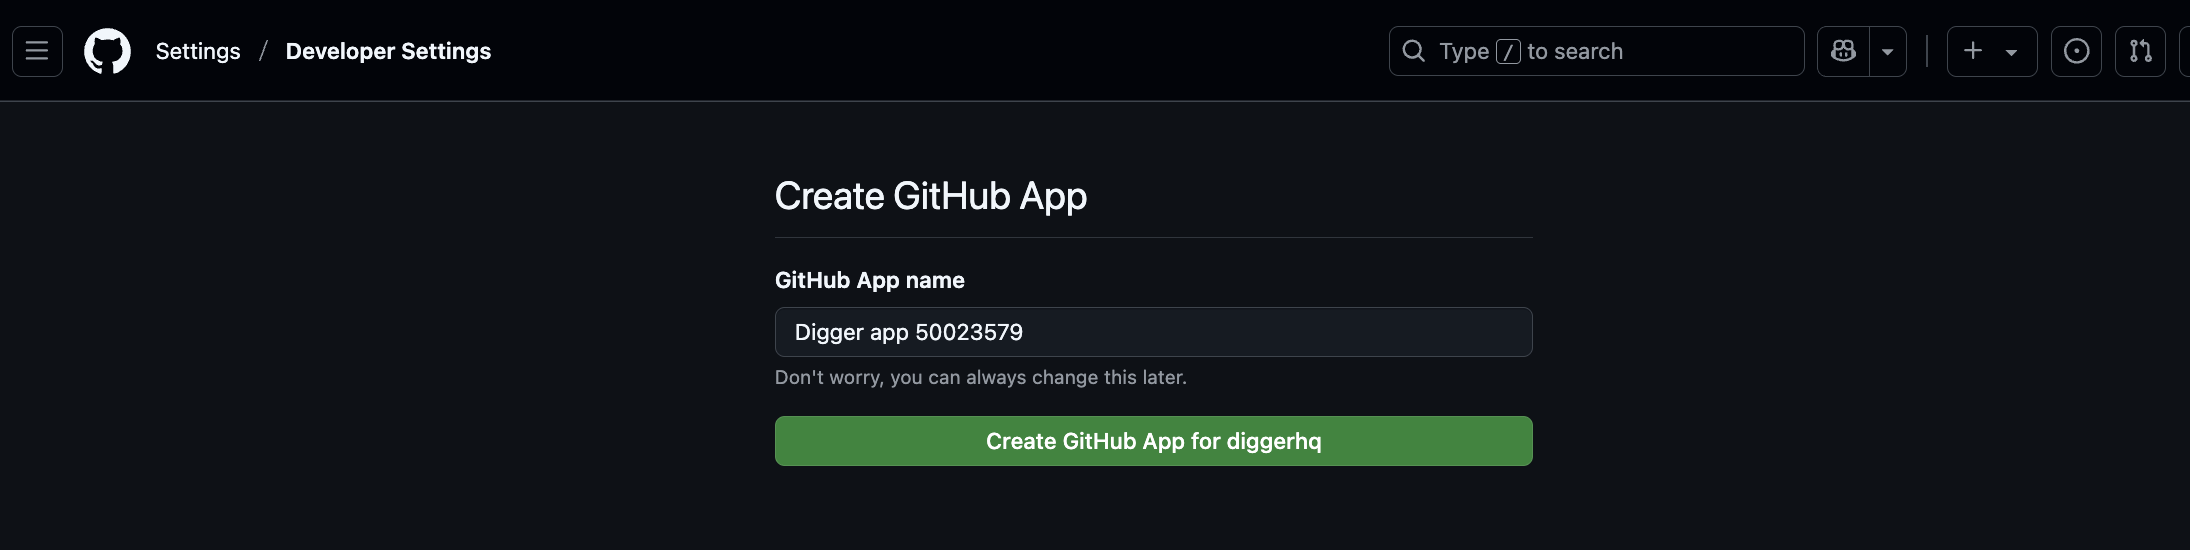 After successful installation you will see all the github credentials in the redirect including ID, webhook secret, private key and so on
 Now we need to update the values from mydigger.yml above for these secrets:
    githubAppID: "add"
    githubAppClientID: "add"
    githubAppClientSecret: "add"
    githubAppKeyFile: "add"
    githubWebhookSecret: "add"
$ helm upgrade mydigger digger/digger-backend -f digger.yml
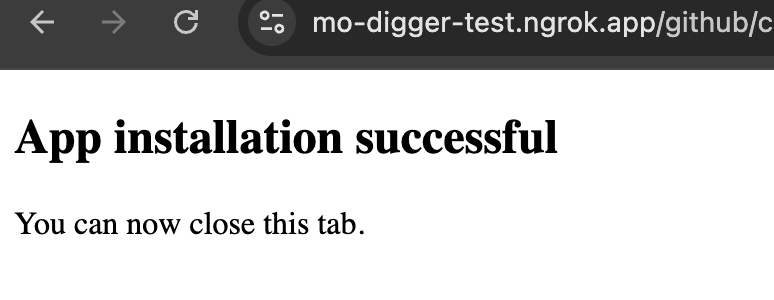 Perfect, with all these steps we are finally ready to create the digger configuration in the repo and perform our first PR deployment to azure!
Configuring Azure terraform repo
We can configure OIDC access using a registration app and subscription ID access.
To get these Azure OIDC authentication values, you’ll need to set up an Azure App Registration and gather the required identifiers. Here’s how to obtain each value:
Azure Client ID
- Go to the Azure Portal (portal.azure.com)
- Navigate to Azure Active Directory > App registrations
- Create a new app registration or select an existing one
- On the app’s Overview page, copy the Application (client) ID
Azure Tenant ID
- In the same app registration’s Overview page, copy the Directory (tenant) ID
- Alternatively, go to Azure Active Directory > Overview and find the Tenant ID
Azure Subscription ID
- Go to Subscriptions in the Azure Portal
- Select the subscription you want to use
- Copy the Subscription ID from the overview page
Setting up for GitHub Actions OIDC
For GitHub Actions with OIDC (which is likely what you’re setting up), you’ll also need to:
- Configure the App Registration for OIDC:
- In your app registration, go to Certificates & secrets
- Under Federated credentials, add a new credential
- Choose GitHub Actions deploying Azure resources
- Set the organization, repository, and environment/branch details
- Add secrets to your GitHub repository:
- Go to your GitHub repo > Settings > Secrets and variables > Actions
- Add these as repository secrets:
AZURE_CLIENT_IDAZURE_TENANT_IDAZURE_SUBSCRIPTION_ID
create this github workflow in your repository under .github/workflow/digger_workflow.yml
name: Digger Workflow

on:
  workflow_dispatch:
    inputs:
      spec:
        required: true
      run_name:
        required: false

run-name: '${{inputs.run_name}}'

jobs:
  digger-job:
    runs-on: ubuntu-latest
    permissions:
      contents: write      # required to merge PRs
      actions: write       # required for plan persistence
      id-token: write      # required for workload-identity-federation
      pull-requests: write # required to post PR comments
      issues: read         # required to check if PR number is an issue or not
      statuses: write      # required to validate combined PR status

    steps:
      - uses: actions/checkout@v4
      - name: ${{ fromJSON(github.event.inputs.spec).job_id }}
        run: echo "job id ${{ fromJSON(github.event.inputs.spec).job_id }}"
      - uses: diggerhq/digger@vLatest
        with:
          digger-spec: ${{ inputs.spec }}
          setup-azure: true
          azure-client-id: ${{ secrets.AZURE_CLIENT_ID }}
          azure-tenant-id: ${{ secrets.AZURE_TENANT_ID }}
          azure-subscription-id: ${{ secrets.AZURE_SUBSCRIPTION_ID }}
          setup-terraform: true
        env:
          GITHUB_CONTEXT: ${{ toJson(github) }}
          GITHUB_TOKEN: ${{ secrets.GITHUB_TOKEN }}
          ARM_CLIENT_ID: ${{ secrets.AZURE_CLIENT_ID }}
          ARM_TENANT_ID: ${{ secrets.AZURE_TENANT_ID }}
          ARM_SUBSCRIPTION_ID: ${{ secrets.AZURE_SUBSCRIPTION_ID }}
projects:
  - name: myapp-dev-eastus
    dir: path/to/terraform/dir
provider "azurerm" {
  features {}
}

resource "azurerm_resource_group" "rg" {
  name     = "rg-myapp-dev-eastus"
  location = "eastus"
}

resource "azurerm_storage_account" "storage" {
  name                     = "mystorageaccount"
  resource_group_name      = azurerm_resource_group.rg.name
  location                 = azurerm_resource_group.rg.location
  account_tier             = "Standard"
  account_replication_type = "LRS"
}

resource "azurerm_storage_container" "container" {
  name                  = "mycontainer"
  storage_account_name  = azurerm_storage_account.storage.name
  container_access_type = "private"
}
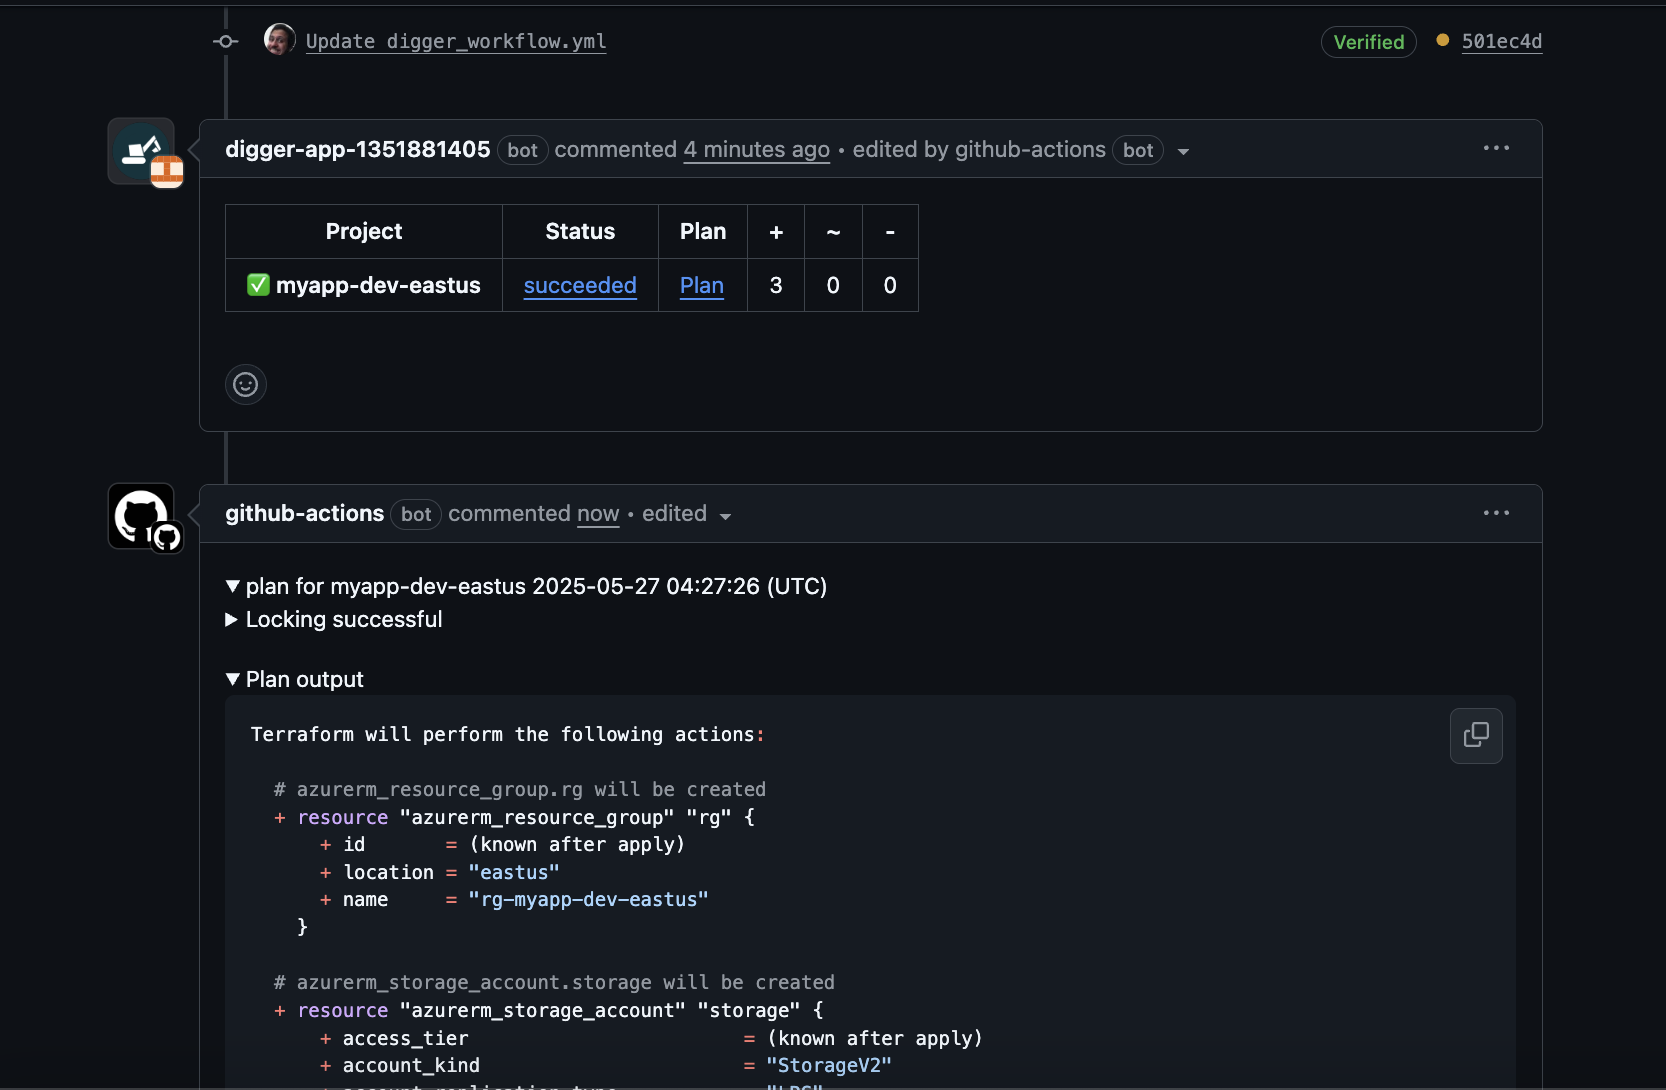 Excellent! finally you can comment “digger apply” to apply the changes, congratulations you have setup digger successfully for azure! This include PR level locks, planning on PR and commenting to apply.
